
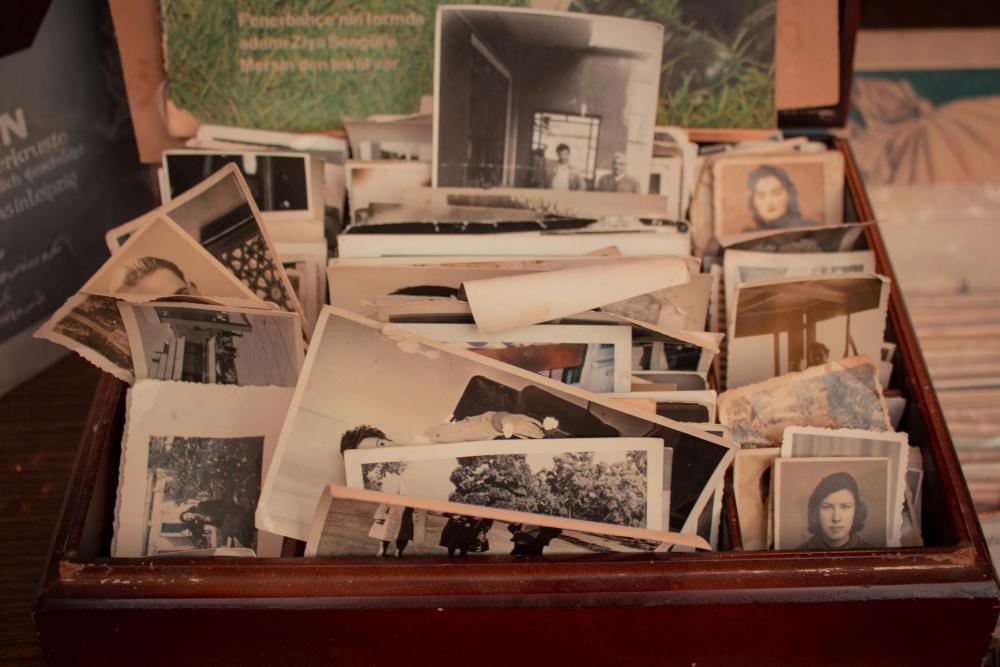
We all have old paper or digital photos that hold precious memories of significant moments in our personal history and that of our family or hometown. Unfortunately, paper photos tend to tarnish and fade over time, and even digital photos often have defects linked to the poor quality of the cameras of the time or mistakes made during the shooting. The good news is that modern photo editing software lets you restore old photos, revive their colors and improve their quality. In this article, we’ll talk about 7 techniques to restore old family photos. Now let’s take a look at the easy steps you can take to bring your precious snapshots back to life.
1 – Crop Your Photo
If it’s an old paper photo, chances are it has grated or torn corners or edges, especially if it hasn’t been stored in ideal conditions. So the first thing you need to do is to crop it. You can do this manually by moving the crop marks to leave out all the damaged parts. However, to keep the original proportions or to improve the composition of the photo, it is better to use a cropping preset. You can choose the one that respects the rule of thirds or a preset that allows you to obtain a photo of a precise format. The choice will depend on the format of the photo album or the frame in which you are going to place your restored picture or on the requirements of the website or social network where you are going to publish it. There are formats such as:
-
- 1:1,
- 4:3,
- 5:4,
- 16:9, etc.
2 – Fix the Geometry Flaws
Old photos taken by amateur photographers can have the horizon tilted because the tripods of the time were expensive and bulky, and the cameras were quite heavy and without a grid, which is why it was not easy to take a perfectly straight photo, especially in the case of landscape. Fortunately, it is easy to straighten a photo with the geometric tools of modern photo editors. Simply rotate the image and crop it afterward. Some programs also allow you to correct lens distortions.
3 – Remove Defects
If your photo has been damaged by time, it may have signs of wear and tear such as cracks or scratches and soils such as ink, oil or other substance stains. And even if a photo didn’t suffer a physical impact, there may be flaws that appeared during shooting, such as dust specks on the camera lens or bursts of excessive light. To remove blemishes, you can try the automatic restore mode, if your software has one, or erase all defects manually using cloning tools such as the Clone Stamp or Patch Tool.
4 – Increase Sharpness
In the days of film cameras, it was not easy to get a perfectly sharp photo because of imperfect lenses, grainy paper, difficult to master settings and weak light sources. Fortunately, it’s easy to sharpen an old photo with modern software. In most cases, simply moving a slider is enough to make a photo sharper. To get a more natural result, you can adjust additional settings like Radius. Zoom in on the image to better control changes and avoid making a photo too sharp and unpleasant to look at.
5 – Bring Back Colors
There are two possible ways here:
-
- If it’s a black and white shot, you can try colorizing it to make it more lively, informative, and appealing, especially for younger generations. Some old photo restoration software allows you to do this with a single click thanks to AI algorithms that recognize objects and color them accordingly.
- If your photo is already in color, but the colors look washed out over time or unbalanced due to poor camera settings or poor film quality, you can correct them by intensifying some tones and decreasing others – make the colors more vibrant and saturated using sliders or tone curves.
6 – Use Filters for Instant Enhancement
The quickest way to enhance a photo is to apply a filter. A filter can change the mood of the photo with a single click: transform the tone and mood, create the impression that the image was taken in a certain era or with a certain brand of film, or give it the style of a movie scene. The key is to find the right filter. Think about the effect you want to achieve, try different variations and adjust the intensity of the chosen filter until you create the image you like.
7 – Add Some Embellishments
This step is not mandatory, but in some cases, adding a vignette, vintage frame, image, date, or inscription can make all the difference. Apart from the decorative function, a meaningful caption will help your descendants identify the people in the photo, the date, the place, and the occasion of the shooting.
Wrapping Up
With modern technology, it is possible to significantly improve old photos that are damaged, wilted, or too blurry, bring back the original colors, and make images more attractive and informative. You can apply all of the techniques outlined above, or choose those that can solve problems specific to your images. Interested in trying them on your own photos? Then launch an easy-to-use photo editor and bring your family archive back to life now!
Memories are a Great Way to Love Your Life Even More
Snag a free workbook and get inspiration on all the ways to love your life even more.
>>Read More Strategies to Get Your Life Back on Track<<
You May Also Find These Articles Helpful
 Are You “Too Social” on Social Media About Your Relationship?
 Sleep is Beautiful (Says Science) (And Your Body Will Agree)
 Better Sleep: Twenty Tips to Get More Zzzzs (So You Can Love Your Life)
 Ten Tips for Surviving Holiday Gatherings With Less Drama
 Resolutions: Channel the Concept to Love Your Life